23 paper flowers later this lovely project is done! I looooove how it turned out! I put it at the head of my bed and it just fits so perfectly!
This is such a "make it your own" type of DIY because you could really do it to take up a whole wall (which would be absolutely incredible), use it for a back drop, nursery mobile, above the fireplace, the options are boundless.
All I did was make a bunch of origami paper flowers I blogged earlier and then glued those together around yarn. I then attached them to a stick I found out in my neighborhood. Voila! You have a beautiful eye-catching piece. It really is so easy. So sit down start folding those petals and before you know it your wall will be covered with a touch of pretty whimsy. Happy crafting!
Showing posts with label Paper Crafts. Show all posts
Monday, February 25, 2013
Tuesday, February 12, 2013
Heart Pockets
Alright, a day late, but sure enough here is the Valentine's Day paper craft I promised. It is so cute, and super easy. Here's the How-to and I hope you have a fabulous Valentine's Day.
These are perfect to create a cute wall design, or to simply write a note and place in. You could even stick them on a gift. Scrapbook paper or thinner is best. Cardstock will be difficult to fold. The crisper your folds the better. I use a bone folder to make the edges crisp.
STEP 1: Cut out a rectangle. A good size that I use is 5.5" x 3". You can always trim to size during step 5.
STEP 2: Fold in half. (Hot dog style ;)
STEP 3: Fold in half again, only this time hamburger style.
STEP 4: Fold one side up to meet the center fold.
(Unlike how I did it, make sure the folded edge is at the top.)
STEP 5: Repeat with other side. This is the step where you can trim the top to make sure it looks proportional.
STEP 6: Fold down corners to the back.
STEP 7: Repeat on other side. Tape back.
Ta-dah!
Now the fun part of finding little trinkets and special things to put in the pockets!
I covered my closet door with the hearts.
Happy Crafting!
P.S. If you like this craft, Pin it!
Monday, February 4, 2013
Heart Wreath
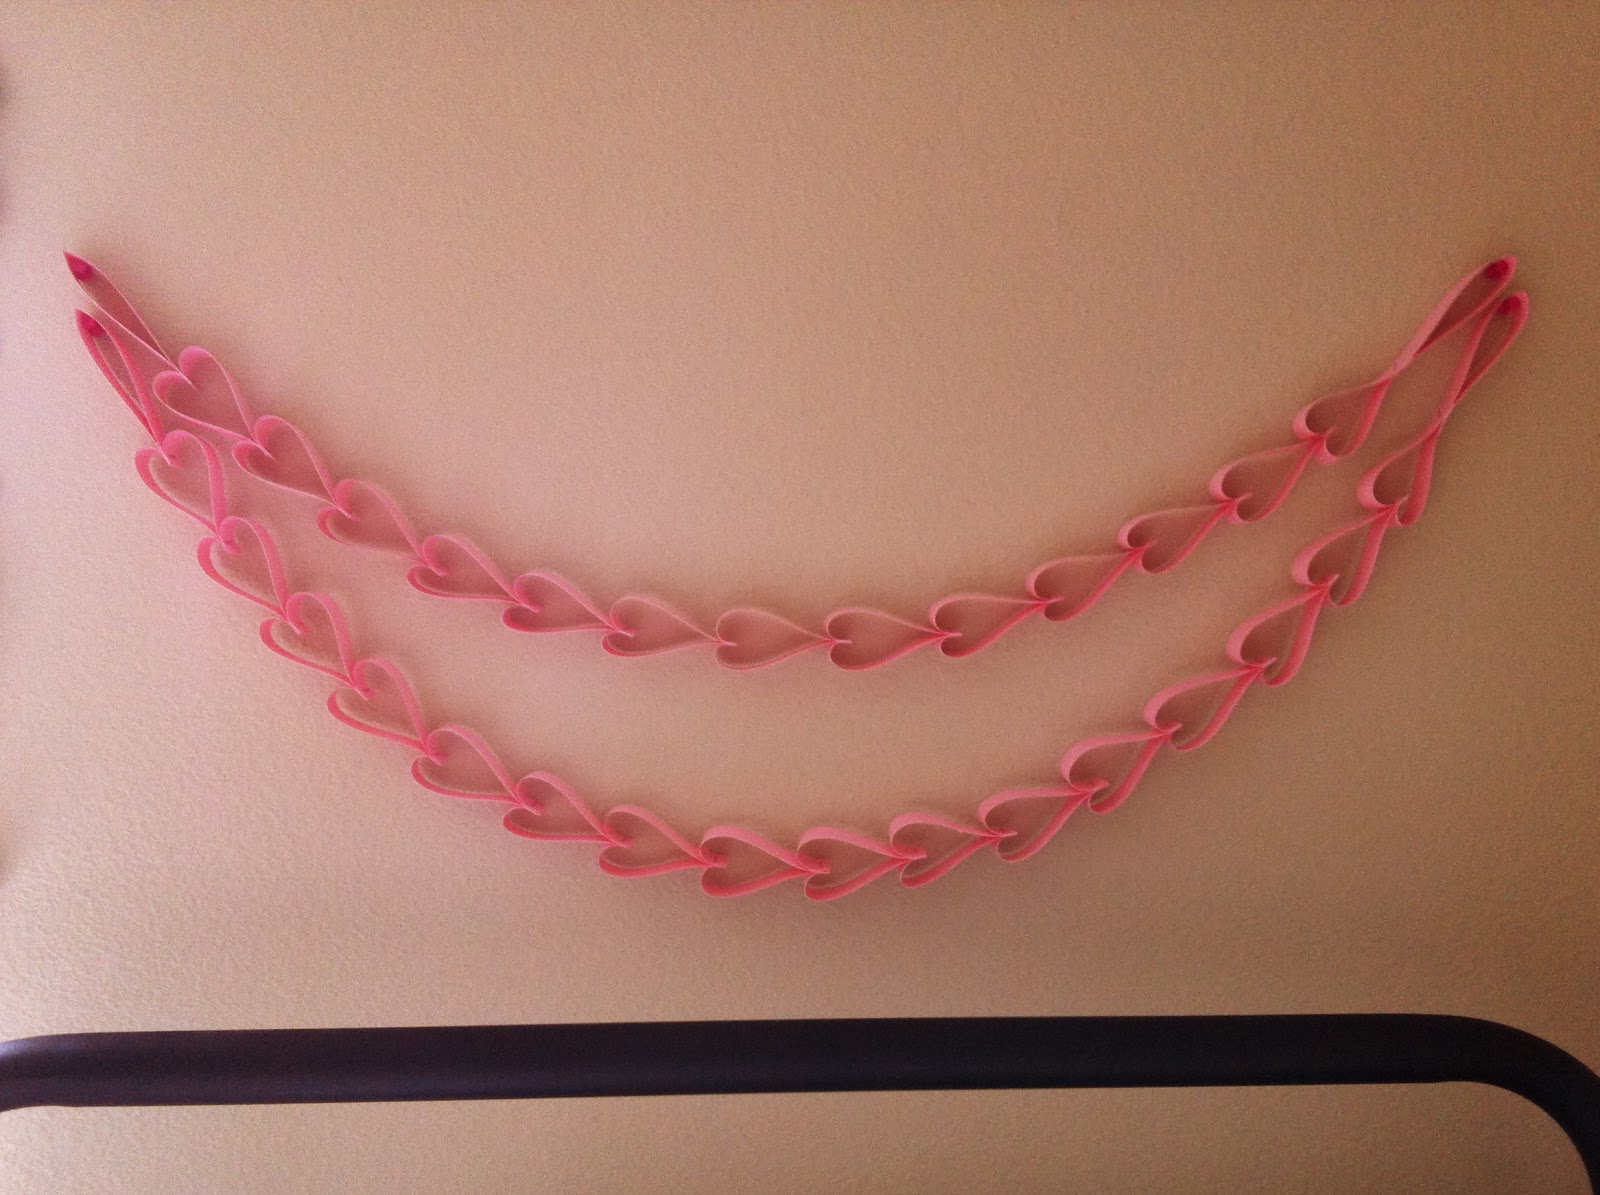
Hello sweet friends! I hope that this first week of February has you feeling very loved. I wanted to liven up my little part of the house so I thought I would grab my favorite crafting material, paper, and have a go at a heart garland. Well as things usually go, I took one idea to the next and made myself a sweet little wreath! I like it quite alot. So here we go!
Step 1: Cut paper into 1" strips. I used pink cardstock. The thicker the paper the sturdier your garland/wreath will be.
Step 2: Fold all the paper strips in half.
Step 3: Take one folded strip and put inside another folded strip.
Step 4: Staple one strip over the other like so.
Step 5: Fold wings over and pinch together. Then put inside another paper strip and staple.
Step 6: Continue step 5 until you achieve the desired length.
You can do so many different things with this garland. You can hang it down over windows, doors, walls, etc. Or you can make a wreath like me!
Wreath: Once you get about 17 hearts, take the two ends. Push the folded end down into itself and bring the loose two ends into the fold and staple.
When you hang your wreath, you'll need to suspend it by two strings on the left and right so that the circle keeps it shape and not hang in an oval shape. But then again you might like the oval. :)
You can also play around with words and place inside the wreath.
Or hang it over your bed for a little Valentine's Whimsy!
Happy Crafting!
Monday, January 14, 2013
Paper Flowers
Hello Whimsy friends!
While in college I LOVED buying flowers to brighten up my room and house. But seeing how they were so expensive (especially on a college student budget) I googled paper flowers. I settled on the Kusudama Flower because it looked pretty easy! So here I want to give you the tutorial.
I used some cream colored notebook paper I had left over in some used school spirals. You can use scrapbook paper, newspaper, magazines, etc. The thicker the paper however, the harder it will be to make clean crisp folds. You want to make sure to make all your folds very crisp, running your nail or folding file across each fold.
Step 1: Cut paper into squares. I use different sizes to create a range of flower sizes. The sizes I use: 8x8, 6x6, 3x3. You really can use any size!
Step 2: Fold square in half, corner to corner.
Step 3: Bring right corner up to meet the top corner.
Step 3: Repeat with left corner, to create a little diamond.
Step 4: Then take one of the flaps and fold that in half. So you'll bring the edge that meets in the middle to the outer edge.
Step 4: Repeat with left side.
Step 5: Now you will open the folded flap, opening it and then pressing it flat.
Step 5 continued
Step 5 continued
Step 5: Repeat with the left side.
Step 6: Fold the tops of the flattened flaps down.
Step 7: Then fold that piece in half.
Step 7: Repeat with left side.
Step 8: Pull the two sides together and tape. (Or you can glue them together, whichever you prefer. Taping is so much easier, plus it will be hidden so that I why I prefer using tape.)
Now you have one petal!
Step 9: Repeat all of the above steps 5 times to get 5 petals.

Step 10: Glue all petals together on the sides. I use hot glue because it is quick and holds them together the best.
Woohoo! Now to admire your beautiful flower! It's ok if it takes a couple tries, you'll get the hang of it and soon enough have an entire bouquet worth!
I wanted to put them in a bottle/vase so I glued the pieces around a skinny wooden dowel rod.
(As shown below).
These were glued around the dowel rode, so they stood straight up, but then I wanted some to face outward so I just put a steam of glue on the side of the flower and glued them this way.
(As seen below).
And voila! You have a beautiful bouquet of paper flowers! Cheap, easy to maintain ;), and they never die! I hope that you enjoy your flowers as much as I have! My new project is to create a garland by stringing the flowers along cute twine. Look for that project soon.
Many blessings, and happy crafting!
Monday, March 5, 2012
Book Art Tutorial
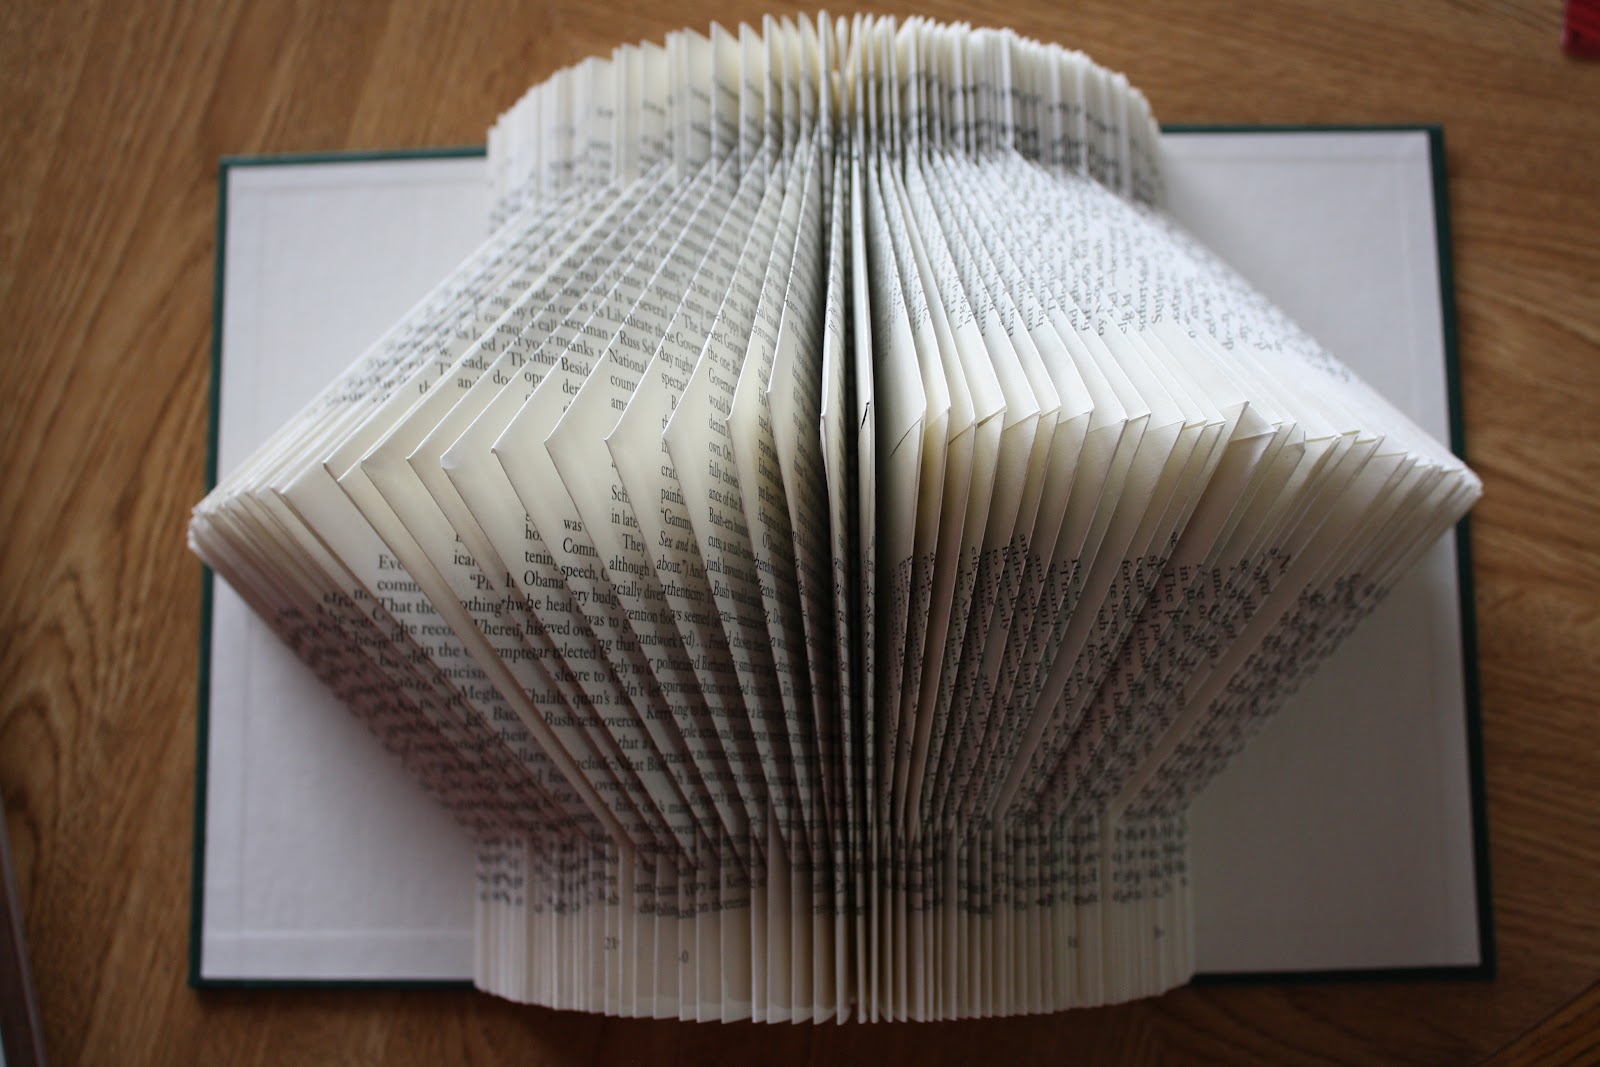
Alot of people have been asking me how to make the folded books, so I thought I would put all the tutorials on here. They are super simple, just take alot of time, but let me tell you...if you need some time to just craft and not think, this is the craft for you. Mindless and peaceful. Haha some might not think of those words...but I do. : )
What you will need:- Plate hangers
- Hooks (I used adhesive ones for simple removal
- Ruler
- Paper cutter
- Adhesive (I used a scrapbook adhesive dispenser, but you can use double sided tape as well)
- Scrapbook paper
The first step with every book you fold will be to break the binding in the middle of the book. So basically that means to just open it up all the way in the middle. This gives the book more ease in the folding, and staying open flat.
This is the first book I'll show you how to make. It is super simple. I will label each fold with a step # so that you will know which fold to reference. So it's not that they go in order, but just their label.
Starting in the middle of the book, where you have just broken the binding, fold the page inwards to the spine and fold down the crease.
| Step 1 |
| Step 2 |
You're book will end up looking like this!
For this next style you will have two new folds with the step 2 fold.
Once again, starting in the middle of the book, bring up the bottom corner up to meet in the spine. You will then fold the top corner down to meet the top of the already folded page. Repeat 10 times.
| Step 3 |
Then do step 2 (folding page in half towards the spine) 10 times.
Then do the same thing as step 3, only opposite. So you bring the top corner down, and meet the bottom corner at the edge.
| Step 4 |
Repeat step 4 10 times. Step 1 is done 10 times between each of the triangle sets.
For this next style, you will simply follow the pattern step 2, step 3, step 4 for the entire book.
And this final style you will need scissors for. Cut every page in half (cutting perpendicular to the spine).
Then fold the corner all the way to the spine.
And there you have it!
I felt like the books needed more pizzazz, so I bought some pretty scrapbook paper and simply taped it inside each cover. :)
Much better.
To hang the books on the wall in an easy way, buy plate hangars! Super easy, and then you can just use the adhesive hooks for simple removal as well.
Hang as many as you want. A whole wall would be incredible! I would LOVE to see any pictures you take of your beautiful upcycled books. :)
Happy folding!
Subscribe to:
Posts (Atom)